But I also access to an empty school workshop and 3 sheets of packing material ply (one 19mm thick and the other two 7mm thick) - so why not make some hives!
Better still my son (a builder in Newcastle) and his partner were up visiting over the new year - so the work will be done easily with my experience and his expertise.
We cut the ply sheets (2.4 x1.2m) up into specified strip widths as per my sketches and ideas - like previous hives - key measurement is the topbar length as I made the length to also fit into a langstroth hive if needed (brother-in-law has 10+ langstroth hives).
We then use the cross cut saw to cut the angles for the end pieces cutting at around 22.5 degrees - the ply is 19mm thick on the ends. We ended up with a quadralateral shape - approximately 455mm across top, 180mm on the bottom, and 325 on the sides
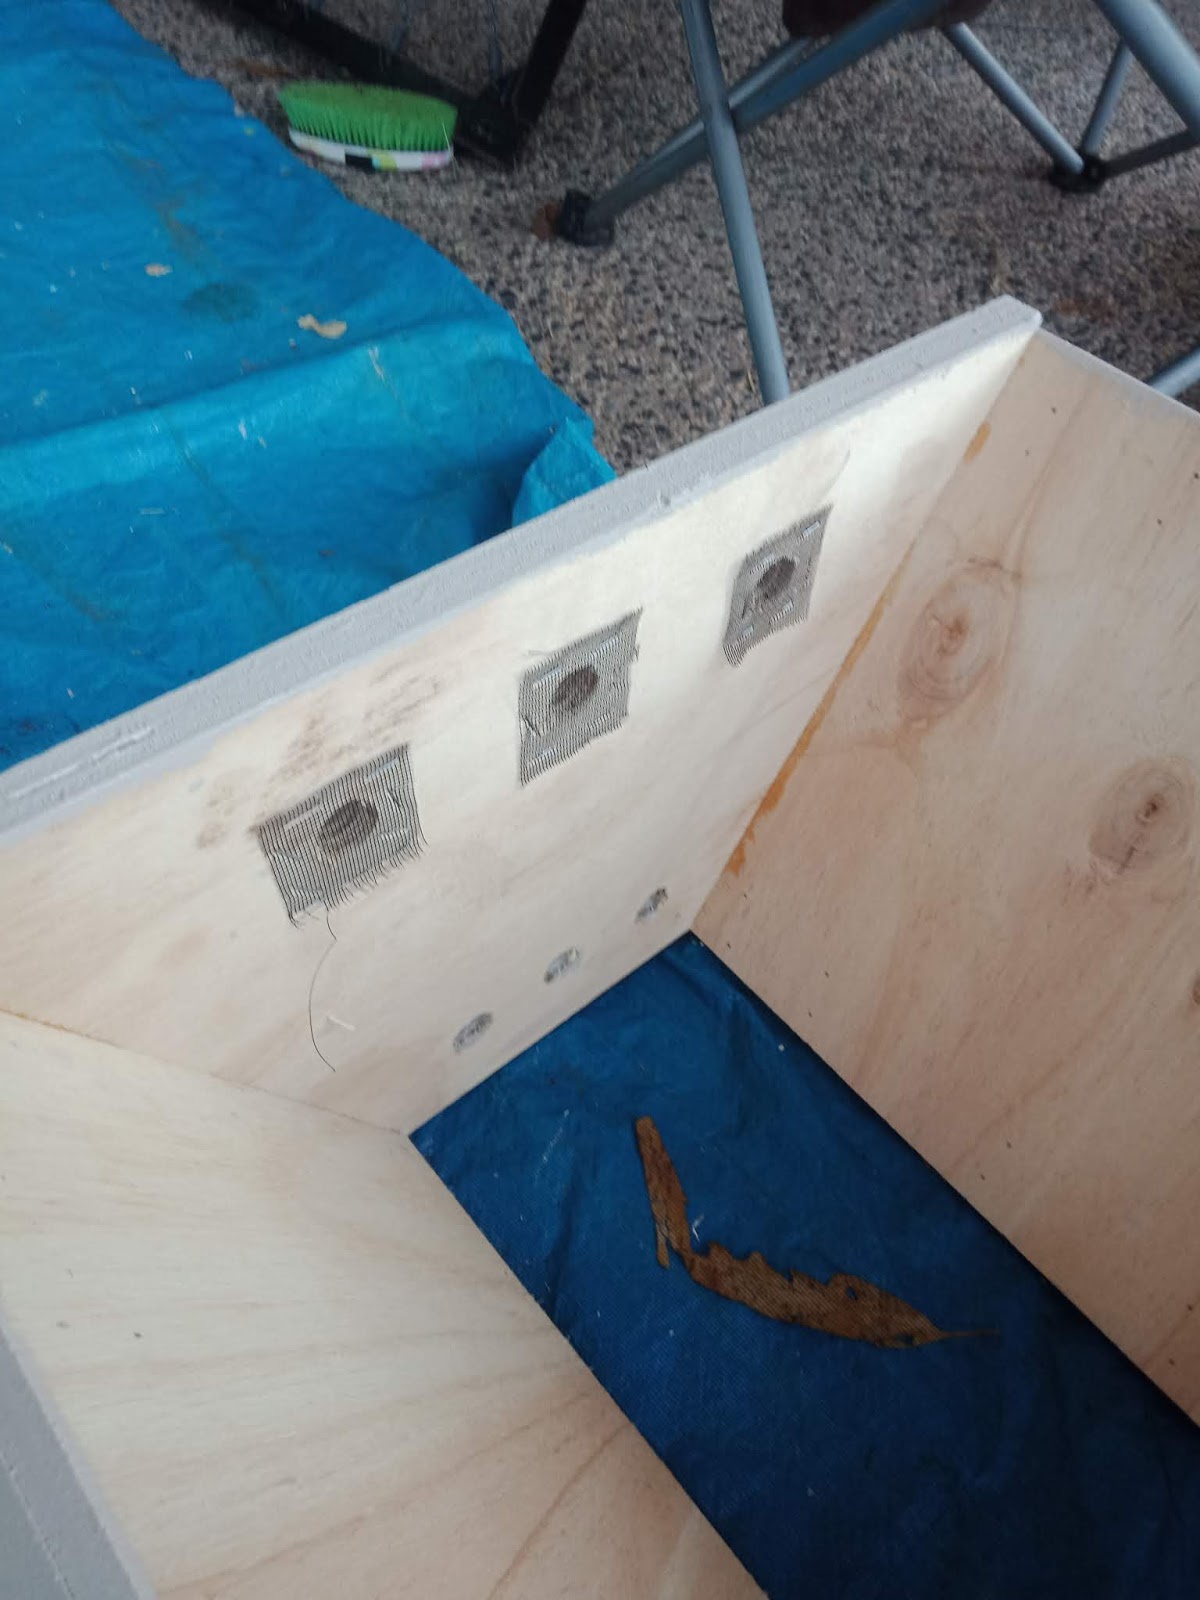
We use a 22mm spade bit to drill three entrance holes and three ventilation holes on the front piece

Attaching this with glue and a nail gun

We then glue the sizes to the ends and use an air brad gun to firmly attach before adding three screws each and and side. Although painted the image below shows a coupe of screws

The light ply available for the sides is only 7mm so the end product so far is a bit flexible
What to do?
Luckily another friend needed to get rid of some skirting board that they were replacing - awesome for me! We stripped down the skirting boards into two strips of 42mm x 19mm.
Gluing and brad nailing these to top and bottom of the sides - which firmed up everything nicely
Using an air staple gun we attach a strip of aluminium insect screen to the bottom and a patch of screen material to each ventilation hole in front piece

That's the hive base completed - except for painting
So here we are after three coats of Solarguard water based paint I had left over from painting my new house a year ago -
Laid each coating of this on really thick with a 100mm roller

Here are my awesome helpers with all the painting

I also made some (10 more) feeder stations that I have been testing. I originally had the feeder inside the large hives but too difficult to fill regularly.
So these ones attach to far end of the hive. I once used following boards in the large hives but now don't bother, which suits this feeder design. Now after several months, seeing no negative impact on the bees being in a large space.
So now I need to make the lids and top bars
For the lids - I have cut four 19x19mm strips of pine (from the old skirting boards I was given), cut two end pieces from 9mm ply I had extra from previous work - 40mm wider each side of hive base - so rain falls away from sides of hive base about 100mm tall, and some 3mm ply strips 1200x420mm (had to buy half of this material these sadly, got rest from local dump)
I drill a spade bit hole in apex of the triangle pieces for the lid for roof ventilation above the top bars covering with a stapled insect screen patch on the inside to keep bugs out
I will then attach the squat triangle ends pieces (9mm scrap ply) to the strips of pine with a nail gun
Next add plenty of glue to the strips of pine and place on them the 3mm ply - then use an air staple gun to secure the ply - was quite liberal with my use of staples too
I will add a strip of angled metal overlapping the join area of the two pieces of 3mm ply to seal it off top of lid using gutter silicone to hold in place and make it water tight
Haven't found the timber that I will use for the 260 top bars I will need
Also thinking of making some queen excluder topbars - still researching this aspect
Last time I made top bars I had a heap of 75x50mm structural pine left over from building my house
That time for the top bars - I cut all the timber I had to size, then cut a groove in the bottom of the bar into which I inserted a 10mm strip of 3mm ply - dipping these into hot beeswax to encourage the bees to build their combs on it - nice and straight!
So might have to hunt around for some timber for those top bars with a night time worksite "visit"
Hope I get some by the time I start splitting hives later this year to make more hives using the new long hives just made.
Again like last build of hives - almost no money spent
And now I have heaps of hives to fill up with bees!

No comments:
Post a Comment